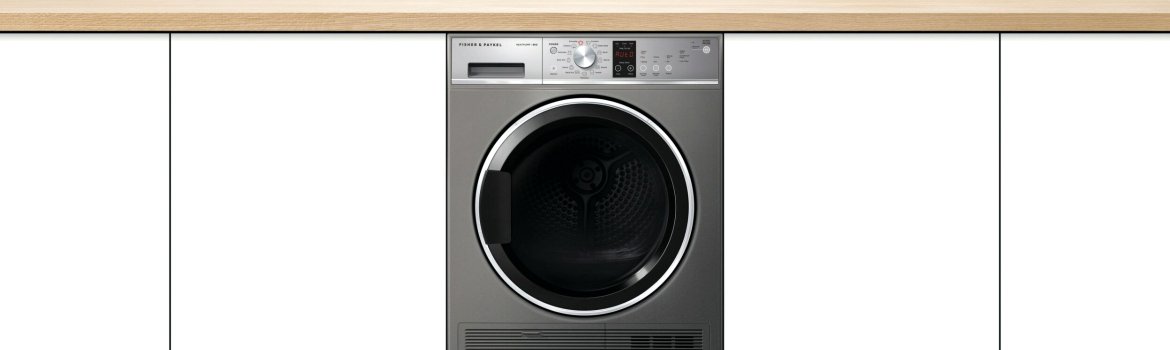
When your Fisher & Paykel dryer throws Error Code E72, it’s telling you there’s a communication problem between the drive motor and the control board (PCB). In normal operation, the board “talks” to the motor to set speed, sense load, and monitor safety conditions. If that signal goes missing—even briefly—the dryer can stall, refuse to start, or stop mid-cycle and surface E72.
What this fault really is
Think of the PCB as the dryer’s brain and the motor as its muscles. E72 pops up when the brain can’t reliably reach the muscles. That can be a true component failure, but just as often it’s a wiring or connector issue: a loose plug, a fatigued crimp, a rubbed-through wire, or oxidation on pins—especially in warm, lint-prone spaces.
You may notice one or more symptoms: the drum won’t start even though lights respond, the cycle begins but quits after a short spin, or there’s a faint hot-electrical smell near the back panel before the error appears.
Likely causes
- Harness/connector trouble between the PCB and motor (most common)
- Motor fault, including internal sensor (tacho/position) issues
- Control board fault such as a blown motor driver or damaged trace
- Environmental contributors like heavy lint buildup, moisture intrusion, or heat-stressed wiring routes
Safe, simple steps before you dive in
Always unplug the dryer or switch off the breaker before opening panels. Wait a couple of minutes for capacitors to discharge.
Start with a power reset: leave the machine unplugged for 5–10 minutes, then try a short timed-dry cycle. A clean restart won’t fix a real wiring fault, but it can clear temporary logic hiccups and helps you confirm the error is persistent.
DIY checks you can do without special tools
Begin with what’s accessible and least invasive. You’re not trying to rebuild the dryer—just ruling out the obvious.
- Listen and observe on startup
After a reset, start a short cycle and listen. A relay click with no drum movement points to motor/drive issues; a brief twitch followed by E72 suggests the board tried to engage the motor but lost the feedback signal. - Clean and inspect the rear area
Unplug, gently pull the dryer forward, and remove the rear service panel (if your model provides one). Use a vacuum and a soft brush to clear lint mats—lint traps heat and can stress wiring and connectors. - Check the motor plug and nearby harness
Look for loose, discolored, or oxidized connectors. Press each plug straight in until it fully seats—no rocking or partial engagement. Trace the harness where it bends; if insulation looks shiny, brittle, or flattened, that spot may be the pinch point. - Peek at the control board connectors
If accessible, reseat the multi-pin plugs going to the PCB. Take a quick photo of plug positions before you move anything. - Try a short test
Reassemble, power on, and run a no-heat or air-fluff cycle for a minute. If the drum now runs smoothly without errors, the issue was likely a marginal connector you’ve corrected.
If E72 returns immediately, the dryer needs deeper diagnostics (metering the motor windings and tach sensor, checking harness continuity, and verifying the PCB’s motor driver output). At that point, professional service is the most efficient path.
What a technician will typically check
A pro will measure motor resistance across windings and the tach/position sensor output while the drum turns by hand, perform continuity tests end-to-end on the harness, and load-test the PCB’s motor drive. If the motor tests good but the board can’t drive it—or loses the tach signal under load—the PCB is the likely culprit. If the board drives correctly but feedback is erratic, the focus shifts to the motor assembly and harness.
Practical fixes you can do (if you’re comfortable)
- Reseat any suspect plug once and ensure proper strain relief—no tension on the wires
- Dry lightly damp connectors with room air and do not use aggressive cleaners on contact pins
- Re-route a harness that rubs a hot shield or sharp edge; use existing clips/guides
- Replace a visibly burned spade terminal with the correct high-temperature, correct-gauge fitting if you’re experienced with crimp tools
If parts are needed, match replacements to your exact model/serial so the connector style, pinout, and motor specs align.
Habits that help prevent E72 in the future
Short, simple routines go a long way toward keeping electronics and wiring healthy.
- Keep airflow paths clear
Clean the lint filter every cycle and the exhaust duct periodically. Restricted airflow elevates internal temps and can stress connectors and the board. - Mind heat and moisture
Avoid running the dryer in tight, unventilated closets without the clearances listed in your manual. Excess heat and humidity accelerate oxidation on pins and soften wire insulation. - Gentle moves
When cleaning behind the appliance, avoid pushing the dryer hard into the wall. Pinched harnesses and crushed power cords are frequent stealth causes of intermittent faults. - Seasonal quick check
Every few months, unplug, pop the rear panel, and take a 60-second look: remove lint mats, ensure harness clips are still holding, and confirm plugs feel snug.
Quick action plan you can bookmark
- Power reset, then a short test cycle
- Unplug → clear lint → reseat motor and PCB connectors
- Re-test on air-fluff/no-heat
- If E72 returns: schedule diagnostics for motor, harness continuity, and PCB drive
E72 is frustrating, but it’s also specific—it points you to a small set of parts and connections. Start with cleanliness and connector integrity, then escalate to component testing. With a little method and care, most units are back to smooth, steady drying without guesswork.
Leave a reply