Seeing AD0 on your Fisher & Paykel dishwasher can be confusing, especially when everything looked fine yesterday. In plain English, AD0 points to a door-lock signal problem. The control isn’t confident the door is latched securely, so it pauses or refuses to run to protect you from leaks and heat escaping. The good news: many AD0 cases are simple—think a latch that didn’t catch after a heavy load, a misaligned door after a deep clean, or a connector that needs a quick reseat.
What “Door-Lock Signal Problem” Actually Means
Your dishwasher constantly checks a small switch/sensor tied to the door latch. When you close the door, that switch should change state and tell the control “we’re safely closed.” AD0 appears when the control doesn’t see that change—either the door isn’t fully latched, the switch isn’t being pressed, or the signal from the switch isn’t reaching the board cleanly.
Common things you might notice alongside AD0:
- The cycle won’t start or it cancels shortly after starting
- The machine beeps and shows AD0 as soon as you try to run
- Gentle pressure on the door makes it try to start, but the code returns
Quick First Steps (do these before any tools)
Start with a clean reset and a “perfect close.”
- Power the unit OFF, wait 3–5 minutes, then power it ON again.
- Open and close the door/fascia firmly—no slamming—so the latch engages fully.
- Remove any item that might press against the door (over-tall plates, pan handles, cutting boards).
- Try a short cycle. If AD0 clears and the cycle runs, you likely had a marginal latch engagement.
If AD0 returns, move to a simple inspection.
What Causes AD0 (and how to think about each cause)
In most homes, one of three things is at play:
- Latch alignment: The strike and latch have drifted slightly, or the tub seal is pushing back enough that the latch doesn’t “click” home.
- Obstruction or load pressure: An oversized pan, a utensil, or a tall cutting board presses on the inner door skin and keeps the latch from seating.
- Door-lock switch/signal path: The microswitch (or magnetic sensor in some designs) isn’t being actuated or the small harness/connector carrying its signal is loose or oxidized.
Less common: a fatigued spring in the latch, a deformed strike, or control logic that needs a firmware-style reset (the power cycle above).
DIY Troubleshooting (light, safe, and effective)
Keep it simple. You’re not rebuilding a door—just confirming the latch can do its job and the signal can travel.
1) Confirm the door can actually latch
Stand square to the dishwasher, close the door smoothly, and listen/feel for a positive click. If you feel bounce-back, open the door and check the tub gasket for folds or food debris. Wipe the gasket and the mating surface on the door with a damp cloth and try again.
2) Look for load clearance issues
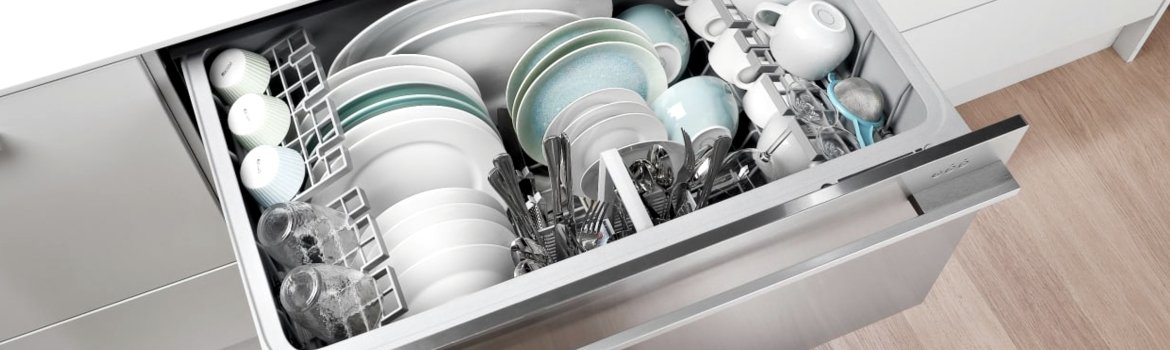
Open the door fully and scan the front edge of the racks. Things that often cause trouble:
- Baking sheets or cutting boards leaning forward
- Pot handles or pan lips jutting into the door area
- Tall utensils in the front of the upper rack
Reposition those items so the inner panel can sit flat.
3) Inspect the latch and strike (no special tools)
With power OFF, look at the latch mechanism in the door and the strike on the tub frame. You’re checking for:
- Debris caught in the latch slot
- A slightly bent or loose strike
- Plastic wear that keeps the latch from grabbing
If you see light debris, clean it and try again. If the strike looks a hair low/high, you can sometimes nudge it within the slotted screw play (very small moves). Tighten gently.
4) Reseat the door-switch connector (if accessible on your model)
Some models let you access the switch area by removing the inner door panel screws around the perimeter. If you’re comfortable and your model allows it:
- Power OFF at the breaker.
- Support the inner panel as you remove screws so it doesn’t drop.
- Locate the small two-wire or multi-wire connector leading to the latch/switch. Unplug and reseat it firmly once.
- Reassemble carefully and test.
If any moisture is present, allow it to air-dry before reseating the plug. Do not use heat on plastics or seals.
5) Re-test with a short cycle
Power ON, select a quick/eco cycle with no dishes, and start. If AD0 stays gone, load the machine normally and monitor the first minutes of a full run.
When to Stop DIY and Book Service
Call in a pro if any of these are true:
- AD0 returns immediately after a careful close and reset
- You close the door firmly and still never hear/feel a positive latch
- The latch/strike looks worn, cracked, or sits obviously off-center
- You found corrosion or heat discoloration on the switch connector
A technician will meter the door-switch circuit, adjust or replace the latch/strike, and, if needed, repair the harness so the control sees a clean “door closed” signal every time.
Good Habits That Prevent AD0
You don’t need a checklist on the fridge—just a few small habits that pay off:
- Load with the door in mind: Keep tall items a finger’s width back from the front rail so the inner panel isn’t pressed outward.
- Keep the gasket honest: Wipe the tub seal weekly; a clean, pliable gasket lets the door seat fully.
- Mind leverage items: Heavy, long handles near the front can act like a pry bar. Turn them inward or move them to the lower rack.
- Shut with intent, not speed: A smooth, deliberate close latches better than a half-push and walk-away.
- After big cleans or moves: If you pulled the machine out, confirm it sits level and square; a twist in the chassis can misalign the latch.
Short Action Plan (bookmark this)
- Power OFF → wait 3–5 minutes → power ON
- Close the door firmly; remove any item pressing on the door skin
- Check and clean the gasket; confirm a positive latch “click”
- Inspect latch and strike; reseat the switch connector if accessible
- Test a short cycle; if AD0 returns consistently, schedule service
Handle AD0 promptly and your Fisher & Paykel will go back to starting cleanly and finishing cycles without drama. If you’d like, share your exact model and any patterns you’ve noticed (when the code appears, after which cycles, with what kind of loads) and I’ll tailor the steps to your unit.
Leave a reply