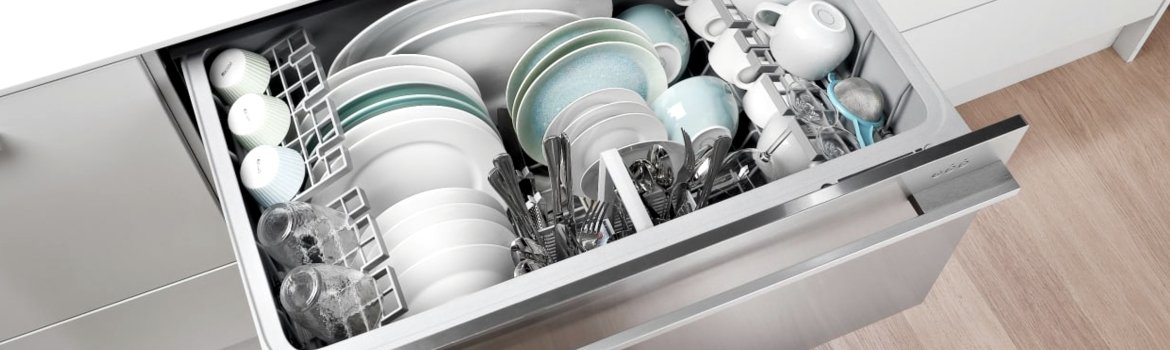
When your Fisher & Paykel dishwasher throws Error Code F7X, it’s flagging trouble with the fill valve—the component that opens and closes to let the right amount of water into the tub at the right time. If the valve can’t open, the machine starves for water; if it can’t close, you risk overfilling and a shutdown. The goal of this guide is to translate the tech into clear next steps you can actually use.
What F7X Really Means
The control board expects to see water enter and reach a safe level within a specific window. F7X appears when that expected fill pattern doesn’t happen—either water never arrives, arrives too slowly, or keeps coming when it should have stopped. Sometimes the valve is at fault; other times the issue is the water supply, the inlet screen, or the wiring that tells the valve when to move.
You’ll often notice one or more of these behaviors before or alongside the code: a long, quiet “wait” at the start of a cycle, repeated attempts to fill, or a cycle that bails out early with dishes still dry.
Why It Happens (in plain English)
Most F7X cases boil down to a handful of root causes. The exact mix can vary by model and water quality in your home, but the patterns are similar.
- Tight or blocked water supply: The under-sink shutoff isn’t fully open, the supply hose is kinked, or the inlet screen at the valve is packed with mineral grit.
- Aging or failed fill valve: Internal coil failure (electrical) or debris in the valve seat (mechanical) keeps the valve from moving freely.
- Wiring or connector issues: A loose, oxidized, or damaged harness between the control and the valve makes the board “think” the valve isn’t responding.
- Low household water pressure: If pressure is marginal, the valve may not deliver enough flow to satisfy the sensor logic during the fill window.
Start Smart: Safe Basics Before You Wrench
Begin with the simple and safe checks. Power the dishwasher off at the breaker before you remove panels or touch wiring. Place a towel under the toe-kick to catch drips. Keep track of screws and take a quick photo before disconnecting any plug so you can put everything back exactly as you found it.
DIY Steps You Can Try (minimal tools)
Use these in order; stop if you find damage or if you’re not comfortable continuing.
1) Confirm water supply
Open the under-sink shutoff valve fully. Follow the dishwasher’s inlet hose to make sure it isn’t kinked or crushed behind the cabinet. If you have a saddle valve or older stop valve, exercise it (fully close, then fully open) to break free mineral buildup.
2) Clean the inlet screen
Shut water off. Disconnect the hose at the dishwasher’s inlet. Inside the valve body there’s often a small mesh screen—gently remove and rinse it to clear sand or scale. Reinstall carefully so the screen sits flat, then reconnect the hose and restore water.
3) Reseat the valve connector
With power off, remove the toe-kick and locate the fill valve. Reseat the electrical plug to the valve with a firm, straight push. Look for green/white oxidation on pins and for nicks in the harness jacket. If you see corrosion, dry the area, lightly clean the contacts, and reseat once.
4) Run a controlled test
Restore power and start a Normal cycle with the machine empty. Listen for a steady fill within the first minute or two. If F7X returns at the same point—especially right after the fill step—the control still isn’t seeing proper water entry, which strongly points to the valve or its circuit.
If you’re comfortable with a multimeter, you can (with power off, harness unplugged) check the valve coil for continuity. An open coil = failed valve. Only proceed if you know how to meter safely; otherwise, stop here.
When DIY Isn’t Enough
If the code reappears after clearing the screen, confirming supply, and reseating the connector, the fill valve assembly is likely due for replacement. A technician can also verify control-board output, test live voltage under load, and inspect the harness routing to ensure nothing’s pinched or heat-damaged. It’s better to address a weak valve now than to risk leaks or board stress from repeated failed fills.
Practical Fixes You Can Do Without Over-Disassembly
Small, safe wins add up:
- Reroute a hose that was rubbing a sharp edge or getting pinched by a cabinet panel.
- Add a gentle bend radius behind the machine so the hose can’t kink when you push the unit back.
- After reassembly, run one full cycle empty to confirm normal fill sound and timing before loading dishes.
Habits That Prevent F7X in the Future
You don’t need to be an appliance tech to dodge most fill faults—just build these into your routine:
- Keep water hot and steady: Before starting a cycle, run the kitchen faucet until hot. Stable inlet temperature and pressure help the control “see” a normal fill.
- Descale on schedule: Hard water sheds grit that clogs the inlet screen. Use a dishwasher cleaner or a citric-acid cycle every month or two, depending on mineral content.
- Mind the toe-kick area: A damp toe-kick invites corrosion in low-mounted connectors. If you ever notice moisture there, dry it out and find the source promptly.
- Avoid pushing the unit too far back: Leave the space Fisher & Paykel recommends so hoses and harnesses aren’t crushed.
Quick Action Plan
A short, rememberable path if F7X strikes again:
- Confirm the shutoff valve is fully open and the hose isn’t kinked.
- Clean the inlet screen, reseat the electrical connector, and test.
- If F7X still returns, plan on valve replacement and a harness/voltage check to finish the job right.
Leave a reply